Life

15 Years Old Bathroom DIY Renovation of A Manhattan Condo – Part 4: Demolition and Reconstruction

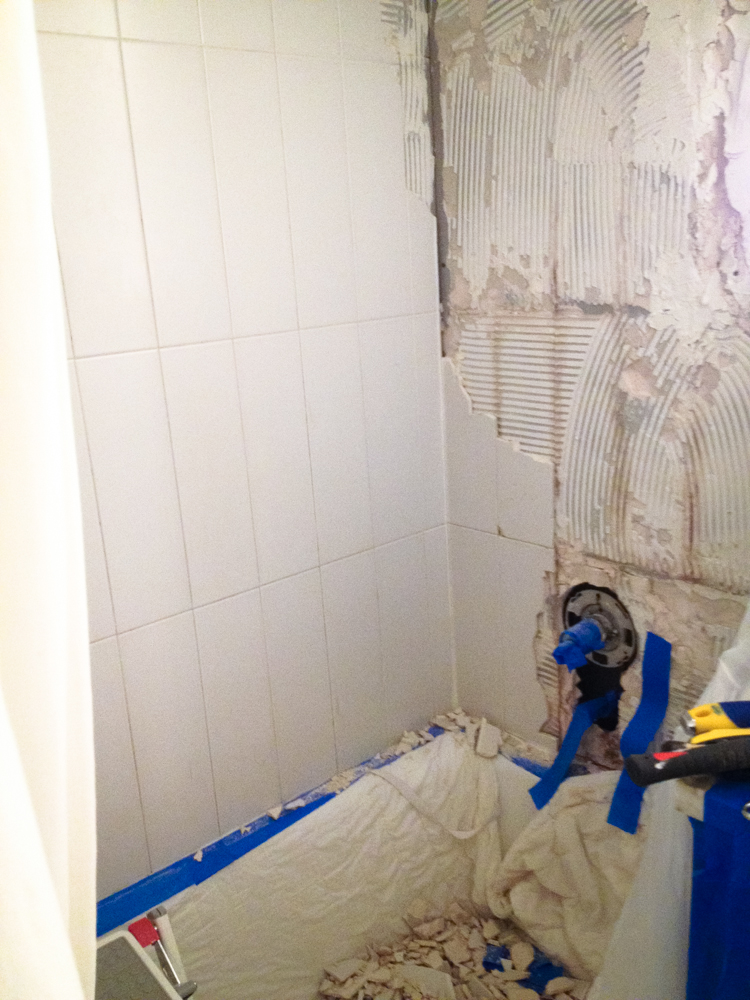
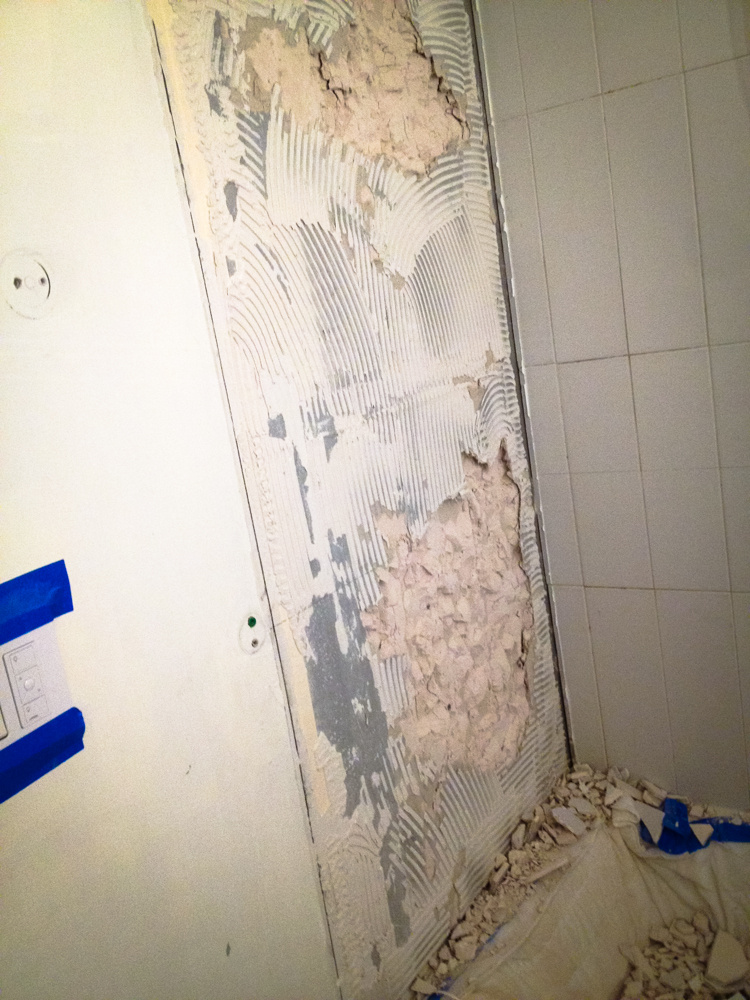
When I decided to install the bathroom tiles, I didn’t realize the hardest part was taking down the tiles without hurting the wall. The shower wall was in bad shape because the water went through the cracks on the grout. The water damaged the wall badly and made the dry wall very fragile. Every step of this tiling was not easy. The tiles I purchased weighted 500 lbs and were left on the curbside. I had to find help to move these tiles to my apartment. Drilling holes for hoses was difficult as well. It required special cutter and some force.

1. The easiest part to take down was the edge of the tiles. It got harder the further it went.
2. The wall was damaged by the water.
3. The special diamond cutter to cut the holes for the faucet.
4. To drill the hole in the exact right location was not easy. The measurement needed to be precise or the tile will not fit and the hard work will be in vain.
5. The hole was not perfect but it still fits! Whew! These spacers were great for those big tiles.
6. They came out nicely.
7. The wall was seriously damaged.
8. This was how we showered for the whole summer!
9. We showered with the shower wall covered by the plastic wraps.
10. My serious gears for tiling – heavy duty gloves, N95 mask and goggle.
11. Look at the debris the wall made.
12. First layer of patching up the wall.
13. Another wall was not good either.
14. After the wall was patched, I applied couple layers of Redgard Waterproofing and Crack Prevention Membrane. It was to prevent the wall getting damaged like before.
15. I started the whole pieces of tiles from the bottom row.
2018BathInProgress-51.jpg
16. The result was amazing.
2018BathInProgress-52.jpg
17. Three walls were done.